- Mon - Fri:
9:00am – 9:00pm
- Call Us:
+1-702-268-6636
- Language:
English
- Currency:
$USD
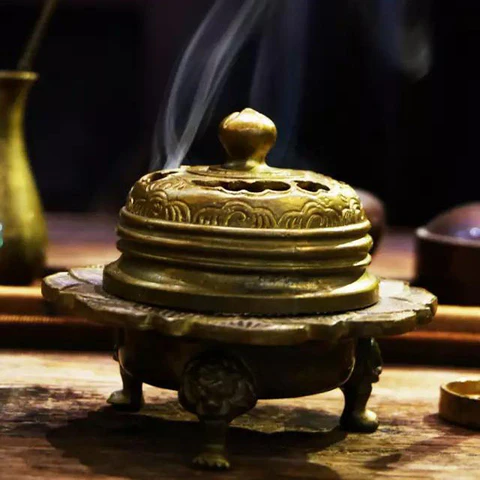
Incense has long been revered for its role in spiritual and meditative practices. One of the most elegant expressions of this tradition is the art of incense seals, a practice that flourished during China’s Song Dynasty. More than a visual delight, incense seals were used for timekeeping in Zen temples and served as tools for introspection, ritual, and connection to deeper truths.
In this blog post, we’ll walk you through the steps to create your own incense seal and explore the symbolism and meditative depth behind this beautiful ancient art.
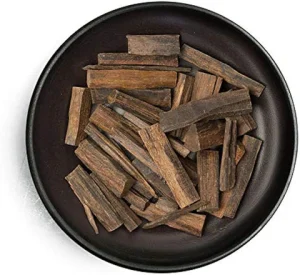
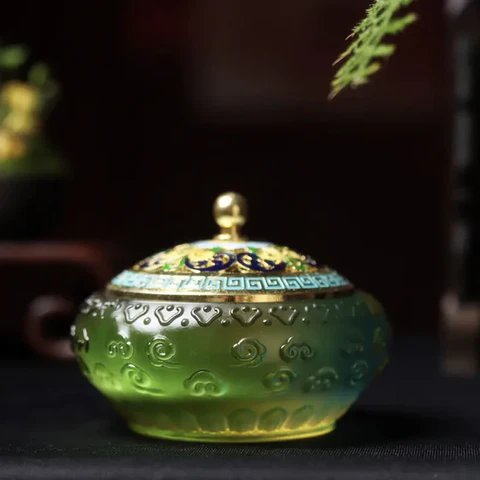
Begin by using an incense shovel to fill your incense burner about two-thirds full with incense powder.
Next, use an incense stick or shovel to gently stir the powder in a circular motion. This helps to loosen the grains and ensures even airflow, which is essential for clean and consistent burning.
Tip: Avoid compacting the powder too tightly; airflow is crucial for the incense to burn properly.
Use a flat tool or incense press to gently flatten the surface of the powder. The goal is a level surface—not too hard, not too loose.
Once even, sweep any excess powder into the burner using an incense broom. This part of the process is meditative in itself and can help calm the mind before the ritual begins.
Carefully place your chosen incense seal mold in the center of the burner. Ensure it’s firmly in place and stable.
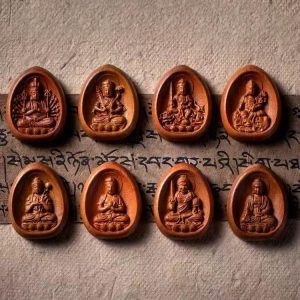
Traditional seal designs include lotus flowers, cloud motifs, or Chinese characters representing virtues like “heart,” “happiness,” or “longevity.” You can also commission custom seals to reflect the theme of your gathering or personal spiritual journey.
Use an incense spoon to gently fill the mold with powder. Avoid overfilling or disturbing the mold’s position.
After the first fill, use a flat incense shovel to level the surface. Gently press the powder into the mold and add more if needed. Once finished, sweep excess powder aside and return it to your storage container.
Tap the sides of the mold lightly with the back of your incense tool to loosen it.
Carefully lift the mold vertically and place it in a separate dish. You should now see the pattern left behind in the powder, ready to be lit.
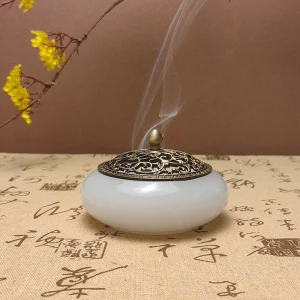
Light an incense stick, then use its flame to ignite one end of the incense seal. Avoid using a lighter directly, as it may damage the delicate pattern.
Once lit, the seal will begin to burn slowly and sequentially, following the imprinted design.
Watch as the smoke rises and the pattern gradually turns to ash. This process invites stillness, reflection, and presence.
As you observe the seal burning, consider its symbolism: the impermanence of form, the flow of time, and the beauty of transformation. Let the scent and movement guide you into quiet contemplation.
Lighting an incense seal is more than just a sensory experience—it’s a ritual of presence. As the fragrant smoke dances and the carefully crafted seal slowly fades into ash, we are reminded of the cycles of change and the fleeting nature of existence.
In that quiet moment, we are offered a space to pause, breathe, and reconnect. It is here, in the gentle rhythm of burning incense, that the soul finds its voice and the spirit a moment of peace.
May every seal you create become a doorway to reflection, and may each wisp of smoke lead you closer to your own center of calm.
Would you like a downloadable version of this post, or would you like it formatted for a blog platform like WordPress or Medium?